












The No-Sweat Guide to Fixing Window Screens (So Bugs Stay Outside Where They Belong)
You don't need a handyman degree to tackle a ripped screen or a sagging frame. Here's exactly how to repair window screen messes, what a window screen replacement cost really looks like, and when it's smarter to call someone for window repair near me.
Last June, I woke up to a mosquito symphony in my bedroom—three of them, all buzzing like tiny chain saws. I flicked on the light and there it was: a two-inch gash in the corner of my window screen, flapping in the breeze like a surrender flag. I almost grabbed the duct tape. Don’t do that. Instead, let me walk you through the real ways to save your sanity, your sleep, and maybe a few bucks.
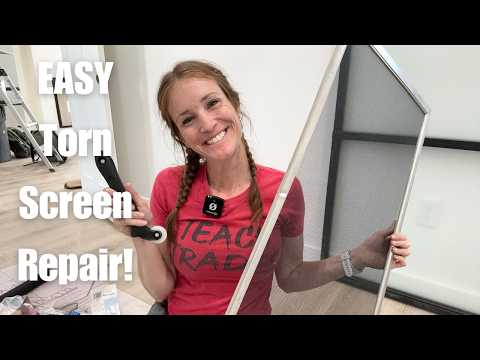
The first thing to know is that a small tear doesn’t mean the whole screen is toast. If the hole is smaller than a quarter and the mesh isn’t brittle, you can fix torn window screen damage in about five minutes with a window screen repair kit. These little kits are lifesavers—they usually come with a few adhesive-backed patches or a tiny tube of clear silicone and some mesh squares. Clean the area with rubbing alcohol, peel a patch that’s slightly bigger than the rip, and press it on firmly from both sides if you can reach it. Works on fiberglass and aluminum screening. The repair isn’t invisible, but it stops bugs cold. If you’re more of a stitch-up kind of person, you can weave a strand of leftover screen material through the hole, but honestly the patch is faster and holds better.
Now, if your mesh has multiple tears, a saggy spot, or has turned to that dusty-gray crumbly stuff that disintegrates when you touch it, you’re past patches. You need to replace window screen mesh entirely. Don’t panic. This is one of those jobs that looks way harder than it actually is, and it’s the perfect beginner DIY confidence booster. You’ll need a roll of screening (fiberglass is easiest to work with), a spline roller tool (five bucks), new spline if the old one is stiff, and a utility knife. Pop the screen frame out of the window. Lay it flat on a clean surface. The old mesh is held in by a rubber cord—the spline—pressed into a groove. Lift a corner of the spline with a small screwdriver and pull it out. The old mesh falls right off. Take a moment to inspect the frame. If a corner is loose or a section is slightly bent, you can handle window screen frame repair right now before putting on the new skin. For aluminum frames, a bent spot can often be straightened with gentle tapping from a rubber mallet on a solid surface. If a plastic corner connector has cracked (common with older frames), you can buy a replacement corner and snap it in—no special tools needed. That quick frame fix makes a world of difference in how square the screen fits the track later.
With a solid frame, roll out your new screen mesh over the frame, leaving at least an inch of overhang on all sides. Starting at one corner, press the spline into the groove over the mesh, using the convex wheel of your spline roller to push it down. Work your way around, keeping the mesh taut but not drum-tight—if you overstretch it, you can warp the frame. Once the spline is all seated, use the roller’s concave wheel to go around again and make sure it’s fully pressed in. Then take your utility knife and trim the excess mesh right along the outer edge of the spline. Go slow, keep the blade angled away from the spline. That’s it. You now know how to replace window screen like someone who’s done it a dozen times.
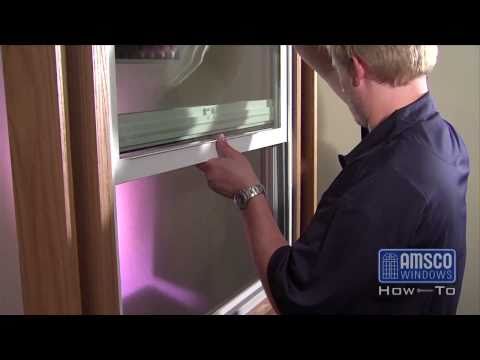
Once the new mesh is on, getting the screen back into the window track can be fussy—this is where a few window screen installation tips save you from grumbling. Many screens have two small tabs or springs on one side; those go up, toward the top of the window, so you can pull them down to disengage the screen later. Lift the screen into the upper track first, centering it, then push the bottom in while compressing the springs. If it’s a friction-fit sliding screen, just tilt and seat it. If it feels too tight, don’t force it—check that the frame corners are fully seated and that you didn’t leave spline sticking out. A little silicone spray on the track channels can work magic on stubborn slides.
Now let’s talk money, because sometimes you’ll weigh the hassle against your Saturday. A window screen replacement cost for a DIY job is modest. A roll of standard fiberglass mesh (enough for several windows) runs about $10–$20. A window screen repair kit for small tears is under $10. A spline roller and spline together might add another $10. If your frame is beyond saving, a full pre-assembled replacement screen from a hardware store—sized to common dimensions—costs $15–$40 depending on size. Custom-made screens for oddball windows can push $50–$80 per screen. If you call a handyman or a glass/screen shop, labor usually bumps the total to $25–$50 per screen for a simple re-screening, or $50–$100 for a full custom build and install. That’s not insane, but when you have five banged-up screens, learning how to repair window screen problems yourself quickly pays for a nice dinner out.
Of course, not every window problem is about the screen. If you’ve got a broken glass pane or a rotted wooden sash, that’s a different animal. In those moments, you might be searching “window repair near me” at 10 p.m. after a baseball hits the living room window (hypothetically…). For glass replacement, foggy double-pane fixes, or rotten wood, a pro is often worth it. But for the mesh part of the job, you’ve got this.
A torn screen seems trivial until you’re lying awake at 2 a.m., listening to a mosquito. With a little patience and a trip to the hardware store, you can turn that broken window screen fix into a quick victory. And next time the cat tries to claw its way through, you’ll know exactly what to do—no YouTube rabbit hole required.